Doom Review: Wad Roundup (16th November 2021)
GoopW by galileo31dos01
Three very short limit removing maps using final doom textures. GoopW is all about the hot starts and focused on maintaining a constant level of action. Each map is beatable in five minutes or less, so the intense pace isn’t too draining. I’ll outline the different styles of the three maps briefly:
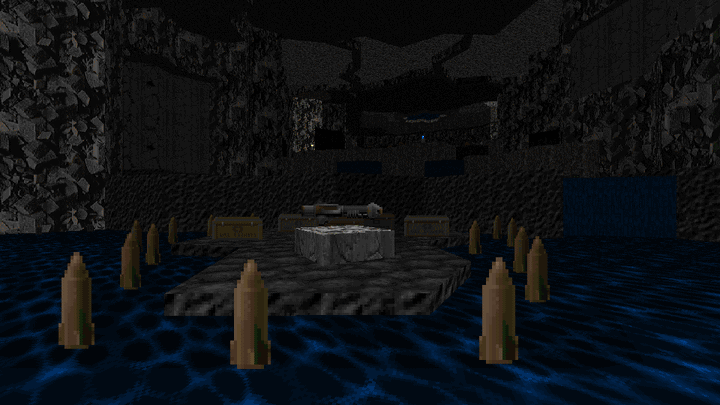
Pump the Goo! has a cyberdemon in a tower with line of sight to pretty much everything and three keys to collect. Monster placement on the ground is chaotic, with a mix of mid tiers and trash to frustrate movement options. Collecting the keys or specific pickups spawns in more enemies, usually positioned to block your movement and give the cyberdemon a chance to strike. The most dangerous enemy by far is the archvile that’s chilling out at the top of the brick structure at the northern end of the map, guarding the rocket launcher and skull switch because they have quite a wide line of sight and are contained in such a way that makes taking potshots at them with the SSG very difficult. The pressure doesn’t really let up in this map until the cyberdemon and sniping revenants are dead, which is almost always going to be the last bit of clean-up you’ll be able to do. There’s a switch that lets the cyberdemon down from their tower when the yellow skull key is collected but honestly it doesn’t help.
This map feels a lot like the opening of a bunch of joshy maps in Resurgence or Speed of Doom, there’s no safe places to hold out and monsters control every inch of the map. You’re reduced to scrambling about wildly, looking for weapons and trying to gain a small foothold. Pushing out into the unknown rewards you with the resources you need, but always leads to more complications by way of an ambush, which pushes you back in the other direction. It works well and lives up to the brief.
Water Nucleon pushes the player down to the bottom of the map and gets them to fight their way back up. It is very, very easy to miss the blue armour and SSG on the way down and that will make survival quite difficult. You grab the rocket launcher and begin spamming at the base of the map against nobles with some extremely irritating spectres hidden in one corner that made me burn almost all my blue armour instantly. A cyberdemon wakes up at the start of the map who spams down rockets and ostensibly is there to provide pressure from a blind angle, but is quite harmless for two reasons. Firstly, his rockets get caught on the terrain as he fires down on the player and there’s a lot of cover in the way of the cave structures at either end of the bottom level. Secondly, for some reason, a large section of the climb back up takes place in a rather easy side area where they have no influence. This map felt kind of easy compared to the other two because there were a lot of chokepoints and moments where there was no pressure at all. The final fight can be cheesed by simply dropping back down to the mid-level and letting everything infight out of harms way, which is a shame.
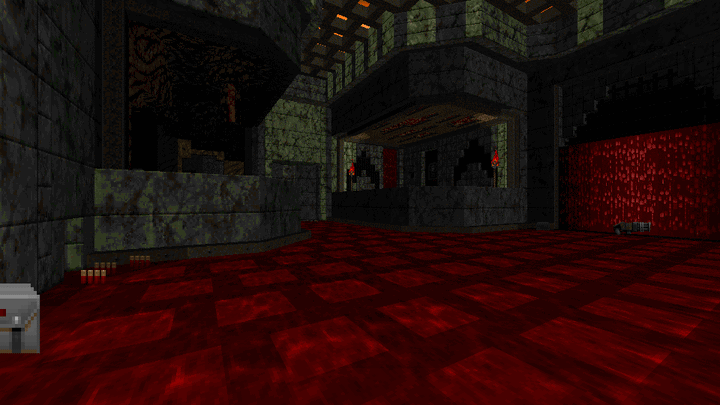
Mossy Cauldron is a massive step up in difficulty and by far the most interesting map of the set. The initial fight is a scramble for space with the SSG and plasma, with a handful of nasty revs and mancs supported by a large number of imps and a decently positioned pain elemental to put the pressure on. Falling into the central ravine is an instant death.
Here’s where the map gets nasty on UV: There is then a mandatory, (but very easy) archvile jump to the other side of the ravine. This is made obvious by the fact there’s no doors or objects to interact with and the giant glowing arrow in front of its cage, but it’s a rare enough occurrence in a doom map that I can imagine a lot of players not getting it. There’s a hidden soulsphere inside the fireplace which should guarantee you always have enough health to make the jump and there’s a megasphere that you can archvile jump to if you shoot out the back wall of the vile’s cage. To be honest, without that megasphere this map would be a real nightmare, so it’s essentially mandatory.
Once across the gap there’s another fight similar to the opening, but now with a vile providing additional coverage. A good way to neuter this fight is to put three SSG shots into the vile before making the jump across and then finishing it off with a burst of plasma. There’s then a really cramped staircase fight where mid tier monsters flood in from the bottom and demons and stationary barons attack from the top. As long as you push the skull switch that kind of looks like a wall decoration, this fight isn’t so bad because there’s enough plasma to cut through everything and a crusher will activate killing the replenishing barons. Just make sure you hold your ground on the landing and be ready for the surprise vile from the top of the staircase.
Once you’ve grabbed the BFG at the top of the stairs, the next fight flood fills the map with pain elementals. This is the point where you’re going to take a lot of damage from lost souls and honestly it’s a bit overwhelmingly nasty. I found it was possible to run back to the staircase area and lure all the pain elementals into the corner at one side of the map and clear them all in a concentrated stream of BFG tracers, but I think with the megasphere and decent play there’s enough ammo to simply stand out in the open and spam wildly in every direction. Then there’s just a bit of platforming over the ravine, a switch to release 20 of so angry revenants and the map ends. Each step of this map is pretty brutal when playing blind, but once you know what’s coming a lot of the urgency drains from the encounters and you can break everything up into manageable chunks.
At five minutes per map, this set is well worth anybody’s time. Just be sure to use the well implemented difficulty settings if you find map03 too hard/annoying, it’s what they are there for.
The Mean Green 2 by Chris Hansen
A direct continuation from The Mean Green, three boom compatible maps in map slots 04-06, all of which will take something like 10-15 minutes to clear. I played the Mean Green 1, but I honestly can’t remember a single thing about it, which was one of the motivations for me to start writing down notes about the things I play. I just want to say up front I did not enjoy these maps and found them incredibly irritating to push through.
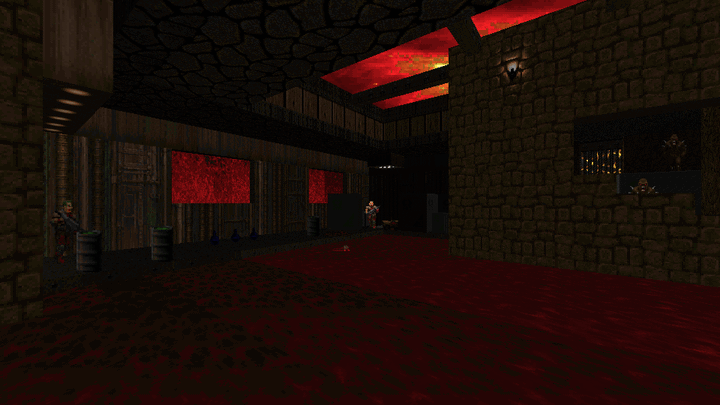
The main reason these maps irritated me so much was the combat loop: Lots of hitscanners and hitscan-centric ambushes, damaging sectors everywhere, barrels around most corners, stacked up on the otherwise ‘safe’ platforms, and both armour and ammo are in short supply. Playing from a blind perspective, a lot of damage felt really unavoidable and with only one green armour or none at all, a few hits from a chaingunner or errant projectile or a single tic of damage crossing over a hurtfloor at the wrong moment really starts to add up. Not to mention the rather extreme variance with individual damage rolls inherent to Doom. This death by one thousand cuts approach led to slower, more cautious play and made the maps drag out longer as a result. But it’s not just hitscan and low tier enemies in ambushes, there are situations where maps throw high tier enemies at you when already running on fumes: Viles are used at near point blank ranges with minimal or extremely awkward cover - staircase with a 8 pixel bit of trim at either side levels of awkward. Annoying revenants in narrow hallways and pressure pain elementals and lost souls to get in the way when trying to deal with other threats and stay on safe ground.
I’m not sure why these elements were so irritating to deal with when I’ve liked sets with a similar style of combat design. Plutonia-likes are great fun and abuse damaging sectors and the terrible power of chaingunners to no end. The vastly underrated and cruel skePland is a gem and I adore the resource starvation and cramped encounters of the Chord series or something like Saturnine Chapel. I think the real reason this set got me on the defensive was the incredibly bizarre choice to change the palette and darken everything. When I loaded up the first map, I assumed I had accidentally turned the gamma correction off or something. It’s not just that the maps are dark, the problem is there’s no real contrast to anything. Interior sectors are just eye-strain inducingly dim in a way that reminded me of a failing LCD backlight. Perhaps the combination of the physical strain to see anything combined with that ‘prickly’ style of encounter design that demands cautious play and a sustained amount of mental focus proved too much for me.
I don’t want to just sit here and pile abuse on this set, because there’s some really promising stuff beneath the problems. The build quality was great and the constant re-use of space as the maps fold back on themselves were really inventive. I really liked the final encounter of map03, where the slime had all drained away to make the main hub of the map an awkward suspended battle against a cyberdemon and some particularly spitefully placed minions acting as turrets. This fight is especially good in the context of being placed immediately after receiving the BFG. There’s the expected catharsis of being able to unload some serious firepower into the next major fight after an agonising crawl from health kit to health kit and it’s completely undercut by the precarious platforming and awkwardly spread out enemies. Maybe it goes to show it’s good to be cruel sometimes? Maybe it’s the certainty of dealing with projectiles instead of hitscan bullets? Who knows.
Soda Runs Out Except in Hell, Because the Demons Drank Everything (Misri Halek 5) by rd.
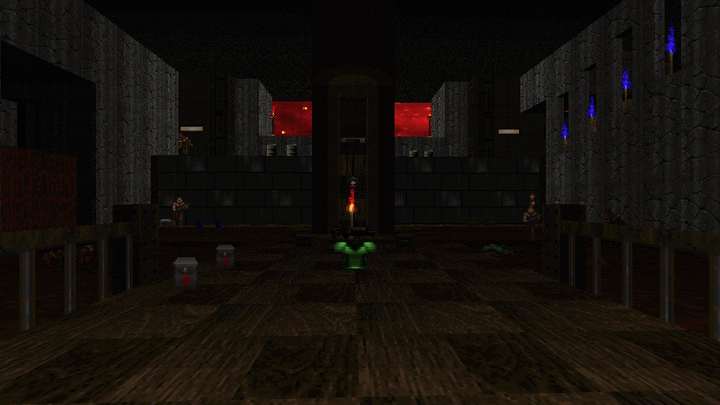
The second in a series of individual map releases this year from one of my all time favourite mappers rd. (formerly known as rdwpa). SRO has an intimidating four figure monster count but can be breezed through in five minutes or less once you know what’s up. Lots of classic hell texturing and a curvy, open and organic space for some slaughter play. Think of something like the hell levels of speed of doom for the architectural equivalent.
SRO focuses on large scale encounters without the use of lock-ins or other hard limits on where to go beyond a single key gate that segregates the finale from the rest of the map. The hot start pushes the player out into the unknown in search of weapons and resources, each resource grab reveals more monsters. Since the majority of the map is one giant open area, the fight is quickly devolves into chaos, with a large number of hitscan and low tier enemies mixed in with the usual bruisers and the occasional irritating pain elemental or vile to sort out. The focus in this first half of the map is managing large hordes while thinning them out with rockets and carving paths through the chokepoints with the plasma rifle. The blue and red skull keys are entirely optional and the way to grab them relies on figuring out a couple of very easy lift-based secrets. These keys provide an alternative arena for an early BFG - if you can spam down a simple gauntlet full of imps and viles without getting roasted - and access to some extra ammo and a backpack. They’re by no means are necessary for the completion of the level, and don’t really provide a significant tactical advantage either.
There’s nothing particularly tricky about these fights, the large amount of freedom of approach and movement combined with the quite generous resource allocation makes it quite relaxing. There’s a minor bit of platforming while being sniped at by very distant archnotrons to get to the yellow skull key and BFG guarded by a lone cyberdemon which could possibly back you into a corner if not careful. The path back to the yellow switch is then seeded with a lot of viles, but with a full backpack of cells and ample cover it really isn’t hard to melt them all with BFG tracers in chokepoints.
The final fight boasts over half the monsters in the map, but is over in under a minute. The huge number of blur spheres should clue you in to the fact that there will be hitscanners, and the map delivers several hundred zombiemen and some chaingunners at point blank. The complication to this fight is a pair of cyberdemons off to one side and a small number of mancs spamming down from a ledge. The cyberdemons are well placed because it has the effect of immediately making you regret panicking and picking up the sphere. Anybody who has played through scythe will know just how lethal forced fights with cyberdemons are with partial invisibility. Thankfully, there’s more than enough ammo to spam down the cyberdemons at a distance where it’s easy to watch and dodge the rockets. This fight on a soft timer in theory due to the hurtfloor there only being two radsuits, but I can’t imagine being there long enough to even burn through one.
I paint a picture of this map being a bit dull and straightforward, but the real strength is in how friendly it is towards aggressive play and speedrunning. It’s the sort of ‘slaughter map’ where the level of challenge is entirely dictated by the player’s actions and a variety of approaches can be accommodated, as opposed to the very modern approach of slaughter encounters being increasingly esoteric puzzles which also happen to rely on a high degree of mechanical & technical skill.
Lovely stuff, be sure to check out the much trickier Starlight Processing (same link) if you enjoyed it.
Grotto of the Scorned by Valhen
I saw this being mentioned a few months ago and never got around to playing it. Grotto of the Scorned is is a lengthy non-linear level targeting boom compatibility from a relative newcomer. Always a little intriguing to see and very brave to put out there. It utilises the classic hub and spoke design, where there are three different wings which can be taken on in any order, each containing a key, some challenging fights and a single cyberdemon, and then a big finale fight to cap things off. There’s a couple of gameplay modifications from vanilla: A totally pointless faster firing pistol and a ‘dark imp’ enemy that has a bit more health and shoots two cacodemon projectiles in a volley.
This map looks pretty damned good, each different wing having its own colour theme and texture set which combined with some decent variation in room layout gives every section of the map a very distinct identity. It’s can get quite busy with the number of different textures and detailing styles at play, especially at the transition point between sections - flesh walls, iron bars, nukage all visible at once etc - but it gels together quite naturally for the most part. The final fight has some really nice lighting that suggests shadow gradients and there’s some cute sector lighting tricks at play too.
Each wing has the same progression of weapons and resources, gradually building to nastier fights before reaching a crescendo with a cyberdemon-based finale. Fights themselves are pretty aggressive too, usually just forcing encounters through warp-ins and instant reveals, though there are some decent setpieces in every zone to mix things up like a classic slow ascending lift which progressively fills with monsters or the dark maze with an active archvile and revenant on the loose and some low tier trash to get in the way. Unlike with other non-linear maps of this kind, there’s no focus on using a single weapon or resource type in each wing. Instead, the SSG, rocket launcher and plasma rifle are all available no matter which path you take first. This has the effect of making your second and third journeys lot quicker and easier, so the most important choice for the player is the order to take the wings on based on which has the nastiest standout fights, and particularly which has the meanest key arena at the end.
The key fights with cyberdemons guarding them are uniformly nasty and a source of the bulk of the complaints about the set on doomworld. They’re a massive step up in difficulty and the blue key fight in particular requires a pretty specific strategy to be consistently beatable: The blue fight is a cramped box with a cyberdemon caged behind one wall and two small closets to either side, one containing imps and the other revenants. The first stage of the fight is easy if you clear the imps, stand in their closet in the blind-spot of the cyberdemon and then spam down the revenants. Unfortunately, the map reacts to this strategy effectively by opening the midsection of each closet wall to allow more revenants to start spamming rockets. Eventually these revenants will be released and can easily overwhelm the player. Trying to stand in the closets will lead to a certain death from behind. Hanging around in the central area and trying to dodge both homing rockets and a near point-blank cyberdemon got me killed more than a couple of times too. The actual solution to the fight - which is honestly a bit counter-intuitive and feels somewhat cheesy - is to stand against the cyberdemon’s wall in one of the corners. The cage doesn’t extend the full length of the wall and as there’s a bit of cave-wall detail where the cyberdemon can’t see you. It’s possible to spam at the revenants in either closet, swapping from corner to corner, dodging in front of the cyberdemon to lose any homing rockets. Not really sure how to feel about that fight, but it’s not a trivial encounter even when you figure out the ’easy’ strategy.
The red key arena is a bit less nasty with a cyberdemon let loose in a very cramped room with pillars supported by two viles and walls lined with low tier monsters. As long as the cyberdemon splash irritates the viles, it’s possible to work around the edges and spam them down with rockets and plasma. Even when this fight is largely cleared up, it’s still extremely dangerous because the space is so incredibly cramped that splash damage is a near-inevitability. The green key fight is a roaming cyberdemon in a large room with some revenants sniping from raised platforms and a handful of pain elementals in every corner to contend with. A Largely straightforward plasma spam-fest in comparison to the precise combat puzzles of the other two wings.
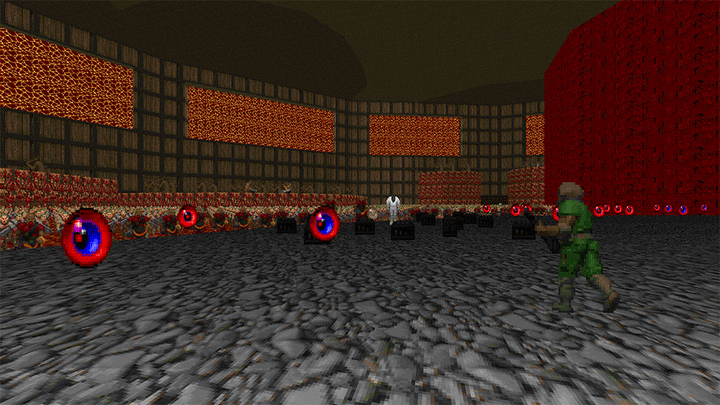
If you didn’t enjoy the key fights, you really won’t like the finale, which has a similarly aggressive setup that demands a specific solution: Tiny circular arena, a lone cyberdemon at ground level just beyond a set of bollards, two pillars full of revenants supporting him and a large, multi-level stand full of dark imps on either flank. This setup on its own justifies the existence of the dark imps as they are really deftly used to pump out a continuous and accurate stream of projectiles directly at the player, kind of like a gentler version of how the evil eyes in Ribbik’s Magnolia are used. Dodging around too quickly will guarantee getting a face full of these projectiles and taking a massive chunk of damage. The trick is to make tight circles around the arena very slowly while spamming down the cyberdemon with plasma, then following up against the revenants and imps with rockets. You want to be moving just fast enough to lead the revenant homing missiles into the ground at your feet and the imp projectiles will always just pass behind you. It’s a question of keeping a steady rhythm and holding your nerve in the face of an occasional cyberdemon volley.
It’s a pretty hard map to beat, especially when playing blind. I got crushed by the blue key fight a handful of times and the finale caught me off guard too. One thing that will help immeasurably is finding some of the secrets. There’s a megasphere hidden in each wing and a few caches of ammo, though thankfully you won’t find any secret BFGs or invulns to brute force harder encounters with. A big issue is finding the fuckers though, as the secrets are obtuse to the point of absurdity. I’m not sure how anybody is supposed to find a 4x4 switch made of misaligned water textures in a waterfall or notice that one band of trim on the walls of long staircase is slightly brighter. I don’t think there’s even a tell for the illusory wall of the green wing hiding the megasphere.
Wonky secrets and uneven balance aside, this is a really great example of a longer non-linear level and it never outstayed its welcome. I’m shocked to see something so cohesive coming from a new mapper. Great job. B+, here’s my max demo:
 cyberdemon.co.uk

